Flooding Along the Marys River


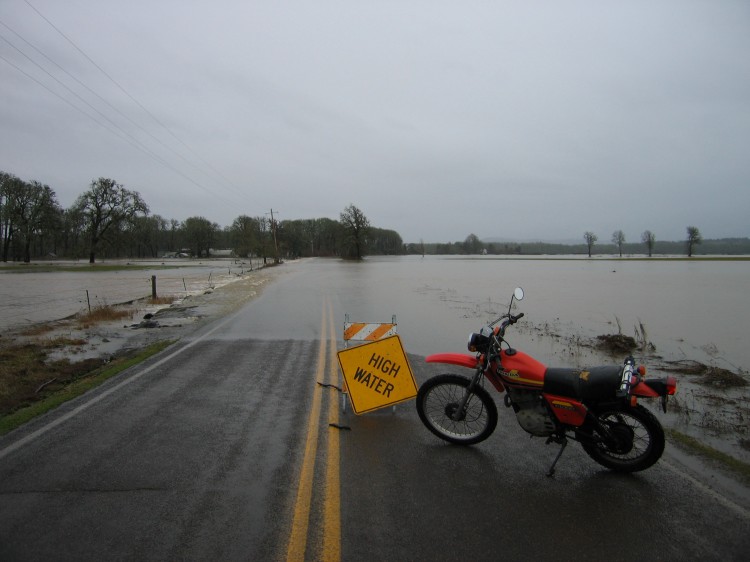
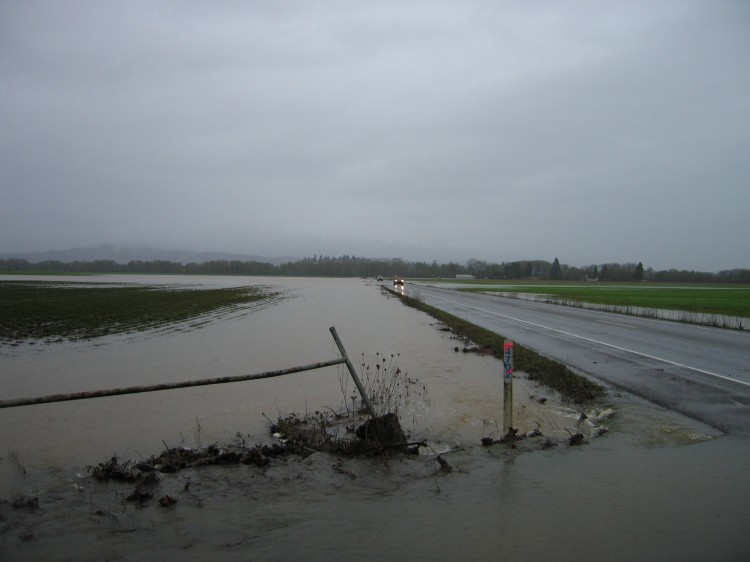
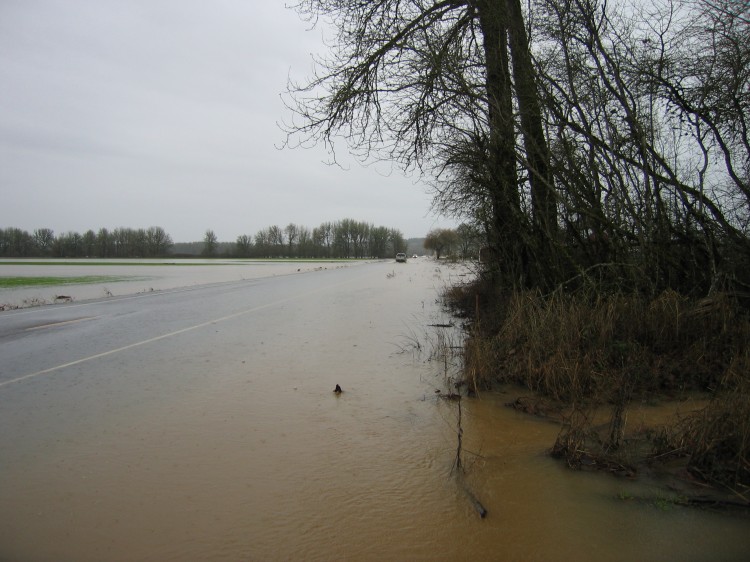
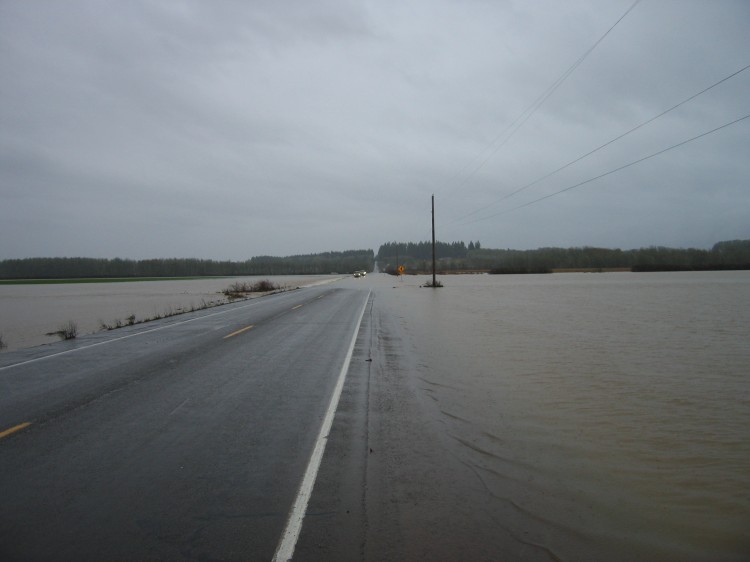
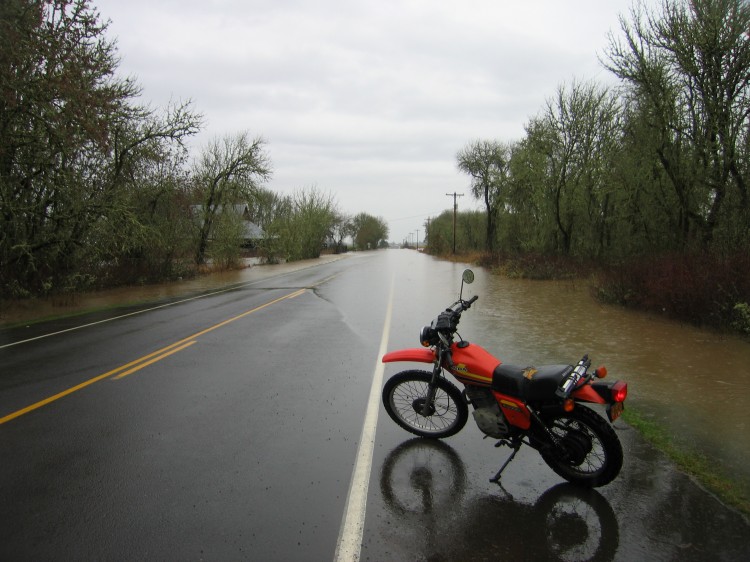
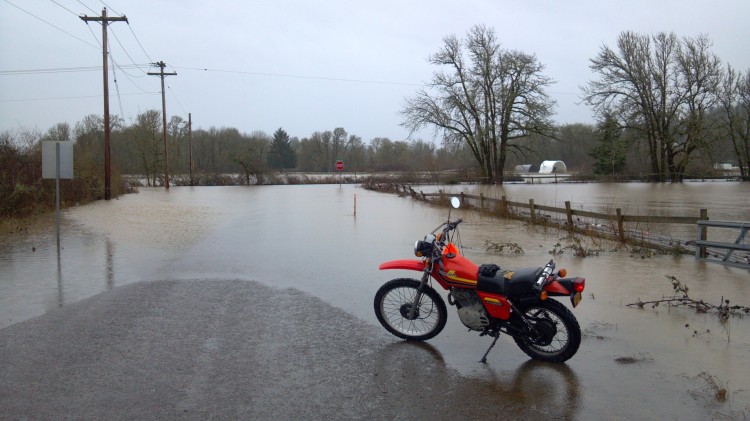
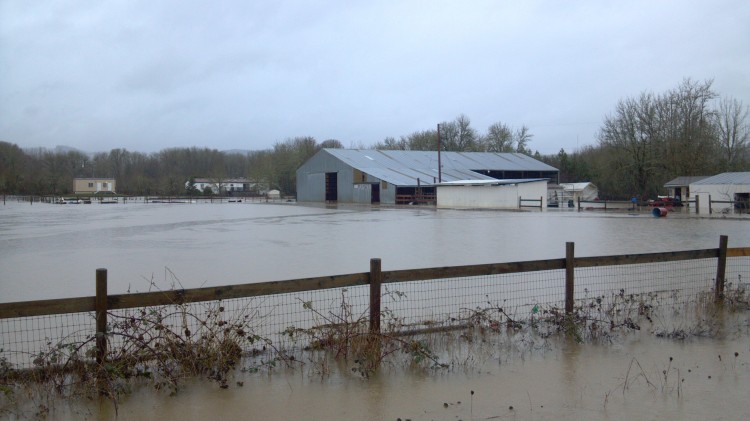
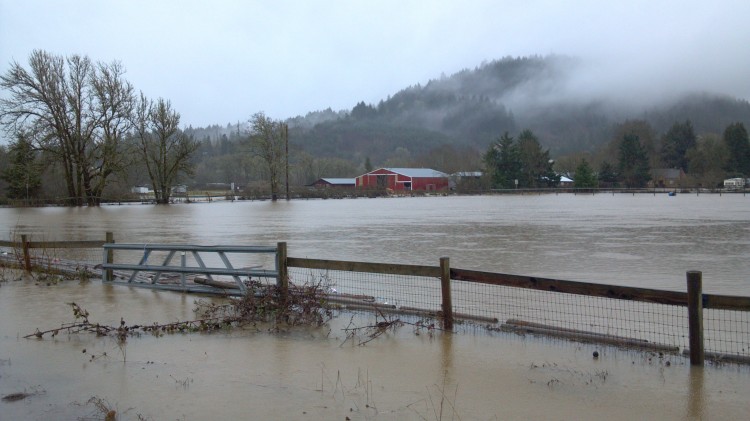
Today I went out on the Gangly Giraffe to look at the flooding caused by the Marys River between Philomath and Corvallis.  The video above has highlights of the whole trip including fording the various flooded roads.  Below are photos of those roads.

  At 53rd south of the bridge over the Marys River.  The water had gone down significantly since yesterday.

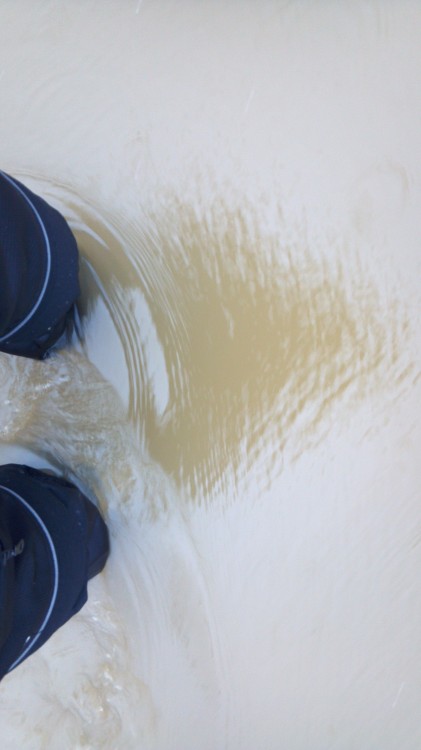
I walked out a ways to see if I could ride through the water.  I thought I could but then changed my mind halfway across when it suddenly got much deeper and more swift.

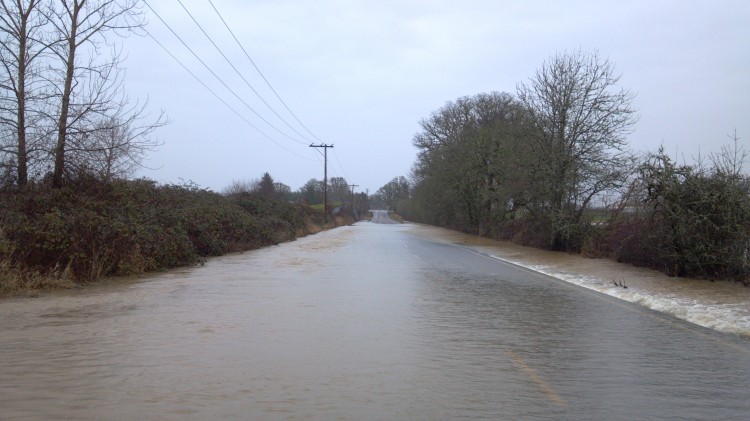
On Belfountain Highway.

Lots of cars going very slow through here.  This was flooded out yesterday to the point no one could get through.

Cars taking it slow.

The field turned into a river.

At Llewellyn Road.  The water was too deep and swift for even big trucks to get through.


Yesterday the road was overtopped the whole way along.


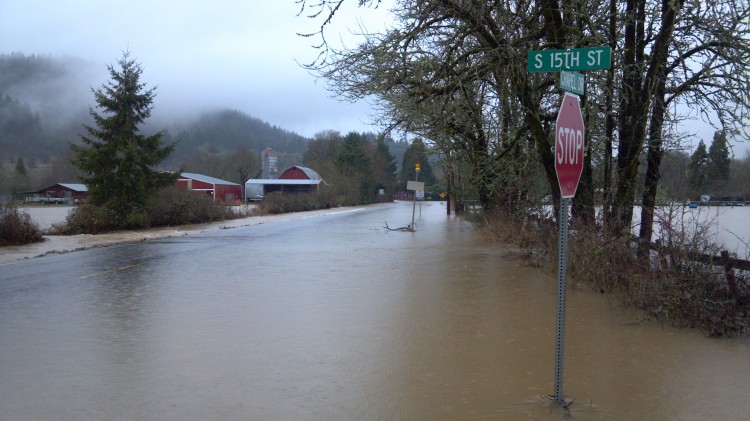
At 15th and Chapel Drive in Philomath.  Yesterday my bike would have been underwater.


No one will be going through here for a few days.

Pretty deep.  I decided to go around the water.

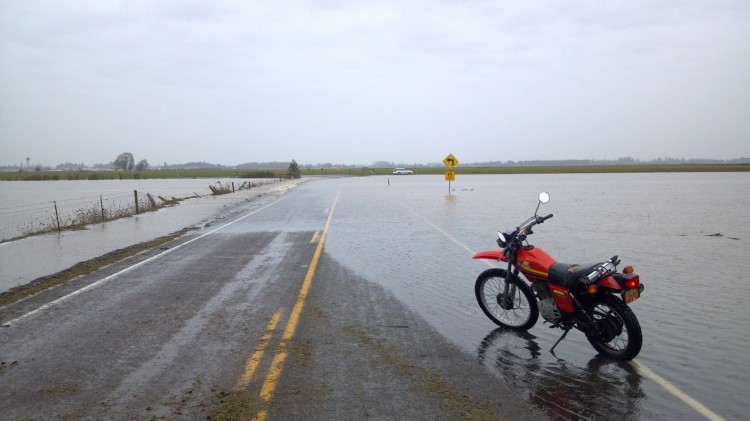
Out on Airport Road.

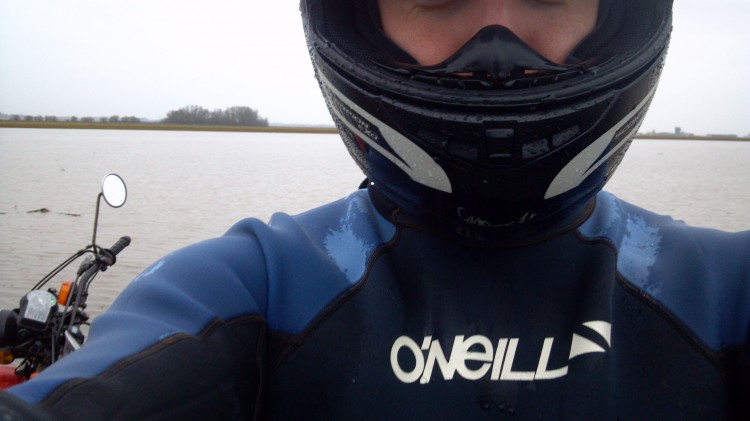
Underneath my summer mesh riding gear I had a full wetsuit to keep warm in the water.  I also was wearing heavy rubber diving boots.  It worked well to keep me warm even going through deep water.  Before my next sojourn through flooded roads, I need to reconfigure the air intake on my bike so that it is not at as much risk of sucking water into the engine.  The spray from the front tire above about 7 mph directly hits the air intake area.
Working on Injector Bosses

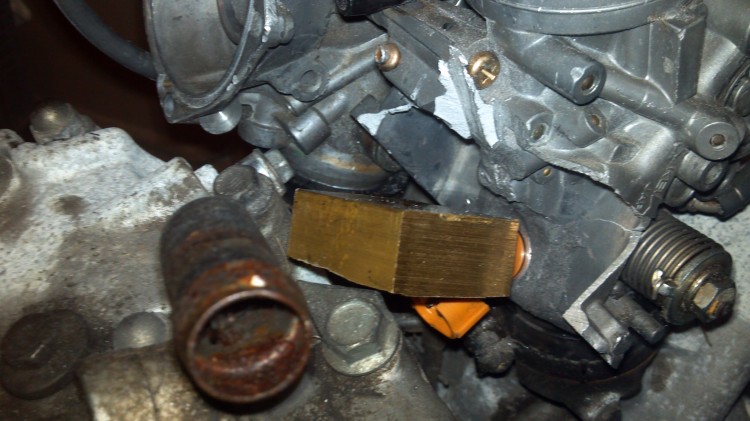
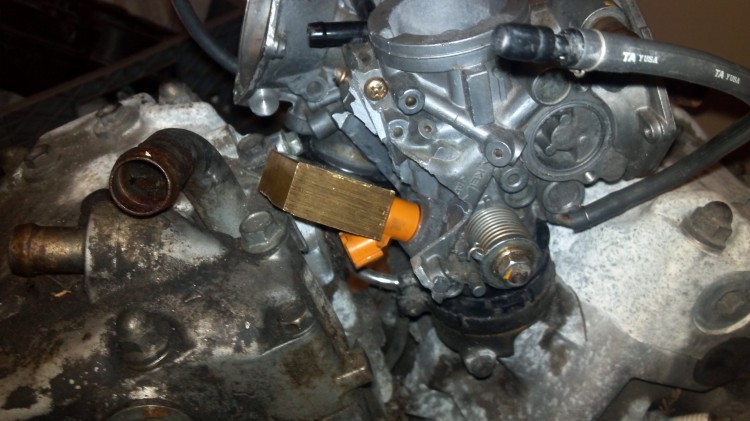
Lately I’ve been working on the fuel injector bosses for my fuel injection conversion project.  The other night I started machining the bosses themselves.  The above video is a sped-up version of me machining the bosses in my living room.  I believe that machining in my living room levels me up in the world of engineers.

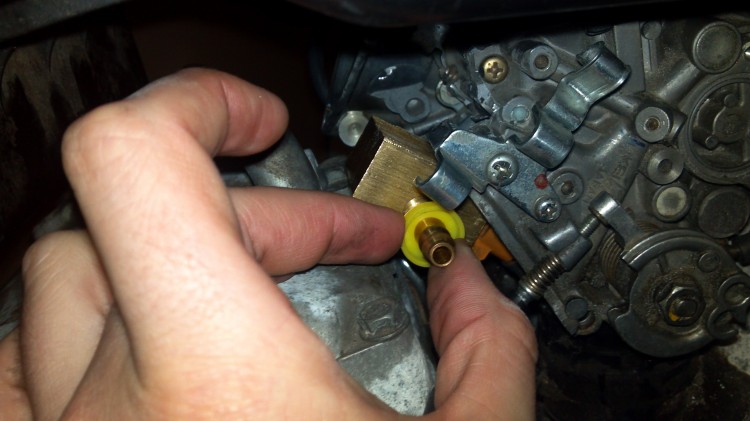
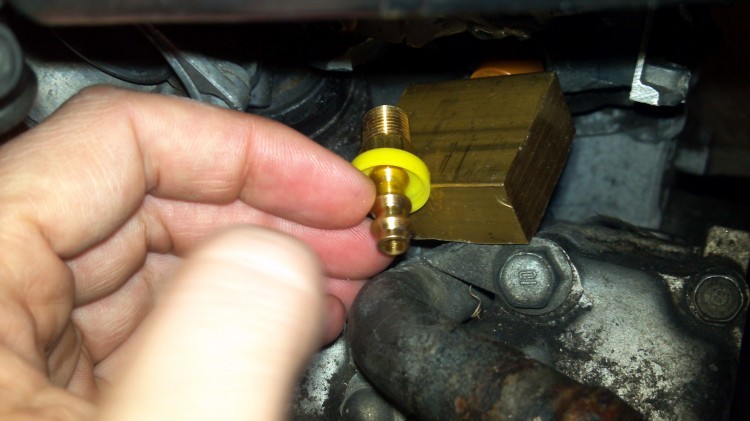
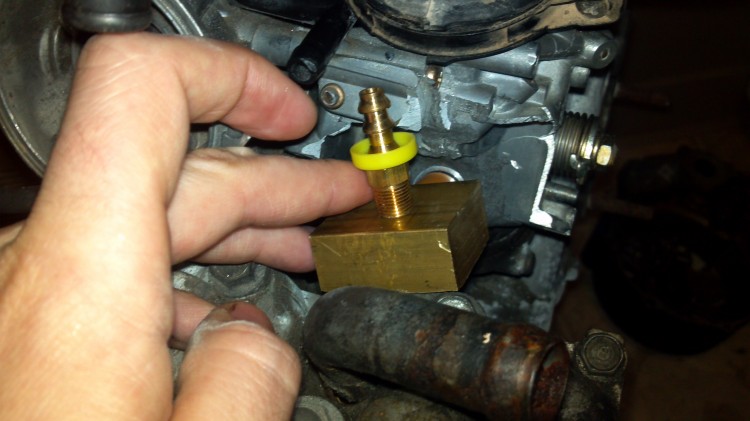
I was thinking about having the hose fittings come out the sides of the bosses but this would impede being able to bolt the injectors to the throttle body.

I can’t put them straight out the top either without impinging upon the water pipes coming out of the cylinder heads.

This side is a more likely candidate.  However, I will need to get a 90 degree elbow to make sure I don’t bend the high pressure fuel hose.  I will be picking that up this evening.

 I will be shaving down about 1/4″ from the top of the blocks to make sure they fit properly once I have set the retaining bolts to hold the bosses and injectors to the throttle bodies.

I might be in trouble with the alignment of the injector wiring.  Hopefully I can make it fit properly.


LED Light Project Update

As I discussed last year in the spring, I have been contemplating for some time changing over the incandescent bulbs on my motorcycle to LED.  Due to a recent test run of a 90 watt electric heated vest, I have determined that I need to go ahead with the LED conversion project.  Also in light of my impending fuel injection conversion project, it is time to upgrade.  Thus tonight I placed an order on Amazon for LED bulbs to replace every incandescent on the bike.  The table below shows what I purchased and how much I paid.


NOTE:

Bulb Description Qty Generic Bulb Lens Color Amazon Bulb Description Reported LED Color LED Cost Shipping Costs
Tail Light 2 1157 Red 2pcs 1157 Bay15D 18 SMD 5050 LED STOP BRAKE TAIL LIGHT BULBS 12V-RED Red $18.99♠ $5.99
Center Brake/License Plate Light 1 T10 Red/Clear 4x 194 168 5-SMD White High Power LED Car Lights Bulb ♣ White $9.98 Free
Rear Turn Signal 2 1156 Amber 2 of LED 2W 12V White Omni Bulb BA15S 1156 P21W Brake Tail 18 5050 SM ♥ White $4.99 $2.74
Front Turn Signal 2 1157 Amber 2 of LED 2W 12V White Omni Bulb BAY15D 1157 P21W Brake Tail 18 5050 S ♥ White $4.99 $2.74
Dash Lights 10 T10 Varies 4x 194 168 5-SMD White High Power LED Car Lights Bulb ♣ White $9.98 Free
Notes:

♠The Amazon page indicates that I should receive a pair of bulbs.

♣These come in packs of four. The center brake/license plate light and instrument cluster use the same bulbs.  The bike needs a total of 11 bulbs of this type.

♥These are supposed to come in packs of two.  I only could find a white LED bulb in this style on Amazon rather than amber.  Hopefully they will perform as expected.


The total including shipping for the order came to $78.41.  This price is only for the LED bulbs and does not include the electronic flasher that I will need to ensure that my turn signals blink at the proper rate.  I chose to hold off on buying that until I have the bike’s tupperwear off and can properly investigate the self-canceling turn signal system.  It appears that I will be replacing a three pin flasher relay but I might also need to replace a four pin latching relay.  Further investigation will need to be performed when I have the bike apart and am able to access the electronics.  I suspect that I might need to isolate the turn signal self-cancel unit with relays and use some resistors to show the unit the amount of resistance it expects to see when a full set of incandescent bulbs are present.  If I somehow manage to destroy the self canceling turn signal module, I might end up building my own solution using some spare parts I have lying around.  Hopefully I can make the existing module work with LEDs though.  The wattage savings will be worth my trouble.

As I continue with this project, I will post updates on my blog.  Watch this website for more details.