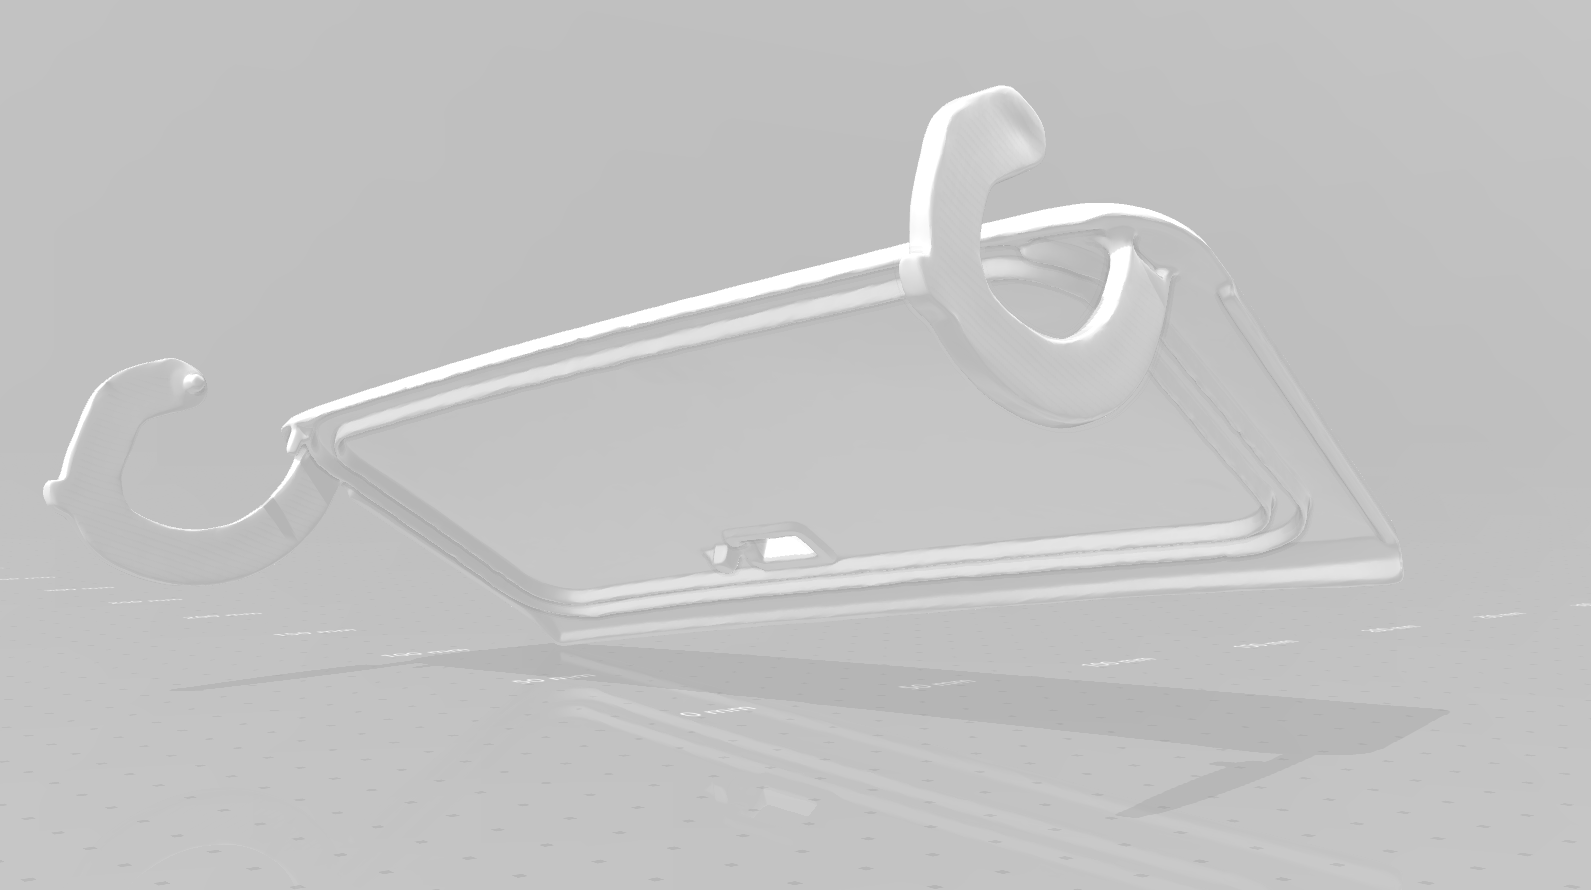
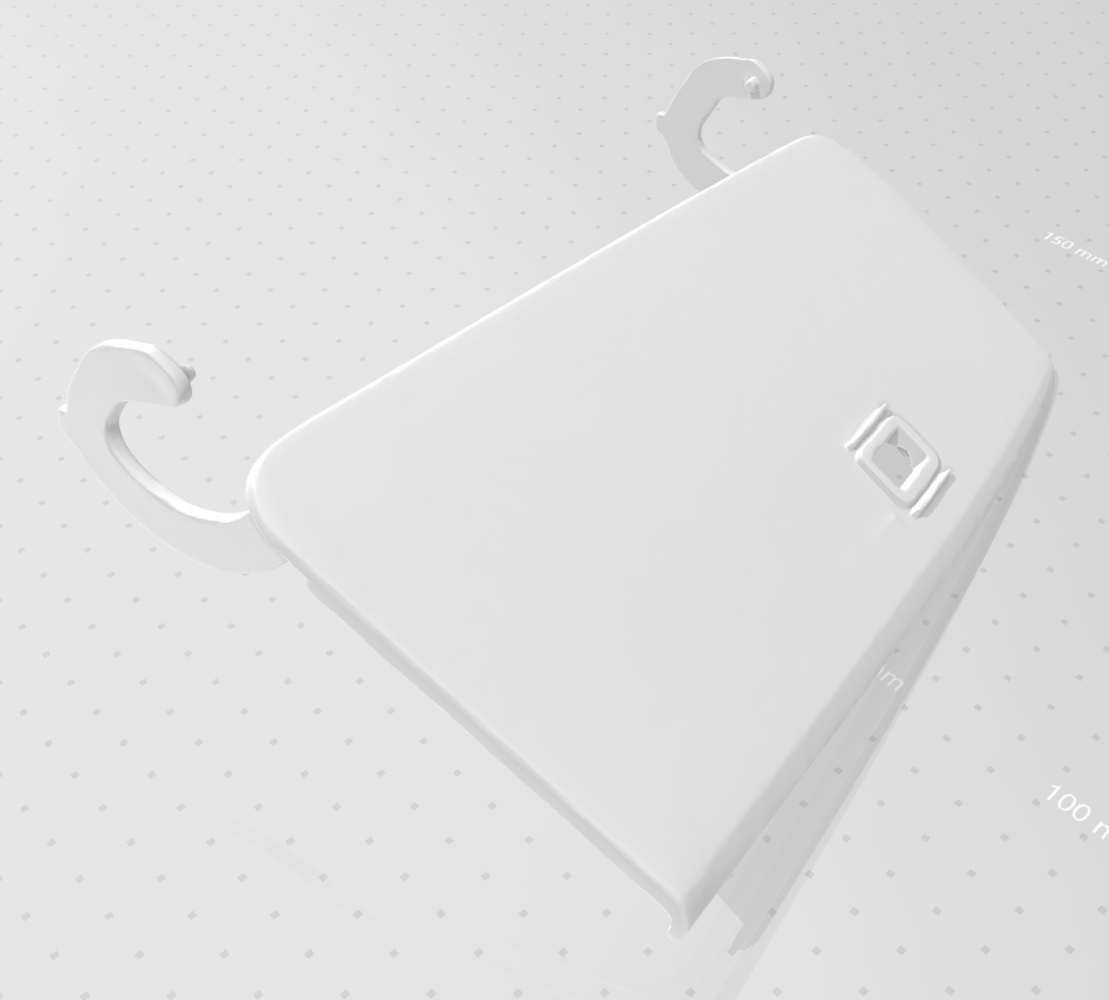
Dave T. from the PC800 Facebook group kindly scanned the left side pocket cover on the fairing for the Honda Pacific Coast PC800 motorcycle. This scan should allow the home hobbyist with a 3D printer to print out a new pocket cover or to send the scan to a local 3D print service to have it reproduced. This is Honda part number: 64223-MR5-010 L POCKET COVER. I believe it should fit all years of the PC800.
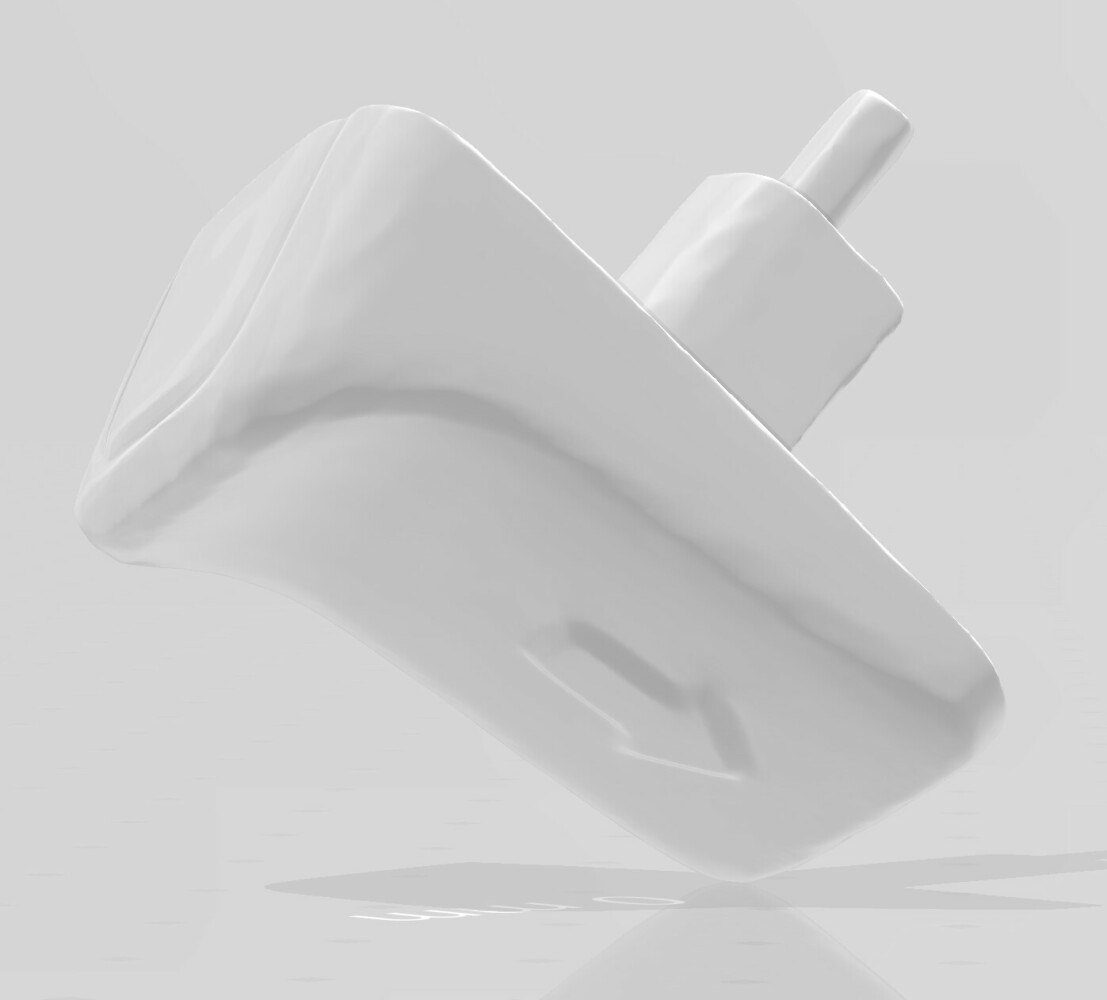
Also the lock for the left pocket cover has been made available by Dave T. It is listed as Honda part number: 64234-MR5-000 KNOB L POCKET COVER. This should also fit all years of PC800.
With the increasing scarcity of PC800 plastics, we will be relying more and more upon 3D printed replacement plastic panels for our bikes.
You can get the fairing pocket cover file by clicking here. It is an STL file inside of a ZIP file.
You can get the lock for the pocket cover by clicking here. It is also an STL file inside of a ZIP file. Note that you need both of these files to get a complete pocket cover.
By the way, you might be interested in Dave T.’s scans of the right pocket cover and lock as well.