Editor’s Note: The following is Pogo’s PC800 Charging System Troubleshooting Guide borrowed from the iPCRC. I have replicated it here to make it more easy for folks to find who might not be a member.
I don’t recommend this as a standard manor of troubleshooting charging systems but knowing that the PC has a weakness in this area give credibility to my method of working backwards from the least reliable component.
First you need to clean your battery cable connections and
put a good charge on your battery, should read at least 12.8 Volts or don’t
proceed with the tests. If your battery will not obtain 12.8 volts you are
likely to have a dead cell, shorted plate, beat battery or all of the above.
Replace the battery and then proceed. The bad battery could be the cause or
simply a victim of the real charging problem so you still need to test the
charging system or you may find yourself
with a dead battery 500 miles from home.
Don’t skip any parts of the testing….you may just be fooling yourself…don’t ASSUME!
Step 1:
Remove the left side vent and
remove the upper side fairing (under the faux tank)
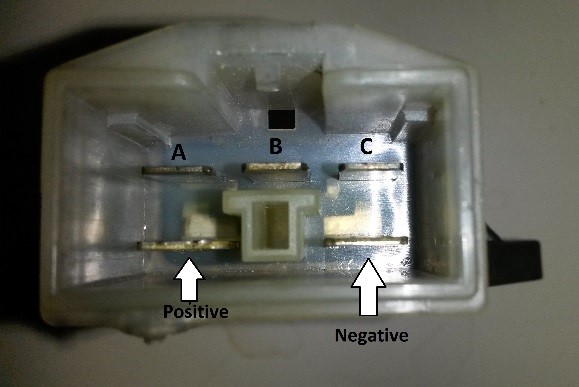
Look for a white connector with wires that run from the crankcase to the R/R, which is by the fuse box. The three yellow wires coming from the crankcase are the stator leads that generate electricity when running. Here is the test, note this is not in the Honda Manual.
All tests are done on the crankcase end of the connector not the R/R end.
(Note: I believe the ’89 does not have this separate connector but has a piggy back plug on the R/R connector with the three yellow wires. Pull the R/R plug and perform the test at the disconnected plug )
Substep A:
With the connector disconnected set your meter to Ohms at the lowest range on the meter. Check the resistance between all three wires if any of the three readings is lower than 0.5 Ohms or higher than 2 ohms then the stator is defective.
Substep B:
Still in Ohms on your meter hold one lead against the crankcase and touch each yellow lead with the other meter lead. There should be no reading or it indicates a short to ground and again a bad stator.
Substep C:
Regardless of the results on steps A & B, perform this test for confirmation. Switch your meter to AC voltage, at least 100vac range, that’s right AC. The stator produces AC output although your bike runs on DC (R/R’s job).
With the connector disconnected start your bike and place the meter leads across any two yellow contacts in the connector, then across another until you have connected all three two at a time (3 readings total) Rev the motor during these tests to get a high point reading. If the three readings are not equal or any one is below 50 volts AC the stator is bad.
Step 2:
If the stator tested good or has been replaced then you need
to reconnect the stator connector and start the bike. Set your meter to DC and
place the leads on the battery terminals. Note the reading w/o engine running
then start and run ,it should be in the 12.5 to 13.5 range if you get over 14 vdc then it is likely that
the R/R is overcharging and needs replacement. If not overcharging, watch the meter closely and note if the voltage is increasing
or decreasing, you need a good digital meter to study this.
If the voltage is slowly decreasing then the battery is not being charged but depleted if it increases then holds…etc.. then the R/R is functioning ok.
Forget the tests in the Manual for the R/R. Both the new R/R and my old R/R tested bad according to the chart specifications, both were good. Electrex states that 90% of charging systems problems are related to poor connections. This next test eliminates all the charging connections in the PC in one test.
Step 3:
Now that you have some battery readings as a baseline or if your readings
were all over the scale, you now need to check the connections by a full bypass
of all the charging system connections.
Disconnect the connector from the R/R. Look in the back
where the wires enter. Make up 1- red
and 1- black jumper wires. About 3 ft. long .Carefully push the red jumper into
the Red/White wire location and the Black jumper into the Green wire
location. Reconnect the R/R (you have
pushed the jumpers into the back of the connector) now run the jumpers to the
Red and Black battery terminals. What you are doing is eliminating all the
connections from the R/R to the battery.
Start your bike and use your meter to check the dc voltage
at the battery when running.
Note the difference from test 2. If your problem is resolved
by the jumpers then you know you R/R is ok and you need to clean all
connectors, main relay and connections. The manual points them out as a first
step in troubleshooting. If it does not improve the battery readings then your R/R
is cooked.
By no means is this intended to be an all inclusive
electrical inspection but rather a very positive means to fairly easily check
the four main components of the charging system of the PC. Stator, R/R, Battery
and wiring/connections.
ElectrexUSA.com also has a great charging system troubleshooting guide online that you can download. The Stator test is taken from that guide. [EDITOR’S NOTE: It appears that ElectrexUSA.com is no longer the same site that it once was.]
Good Luck. Pogo
Experience is what you get when you don’t get what you want.
“Miss Bliss” ‘95