Laser Exhaust for the Honda Pacific Coast PC800

A very interesting exhaust system manufactured by Laser showed up recently on a Netherlands-based website as they parted out a PC800. A PCer in The Netherlands bought the parts and has installed them on his PC. I’ve collected what information I can about this exhaust. If you know anything else about it, please get in touch with me.

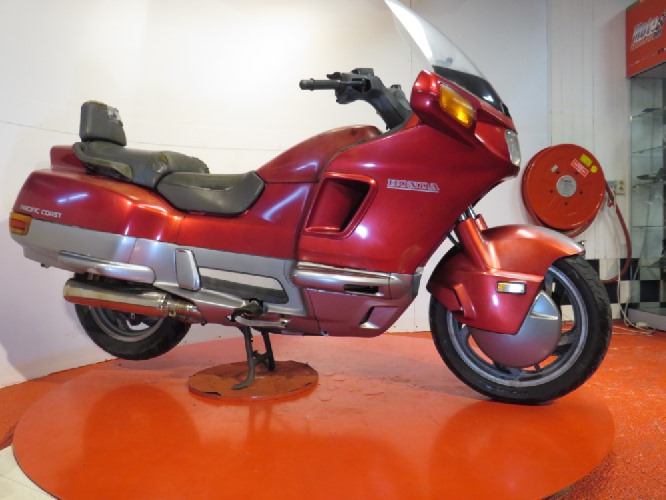
Based on the photos from the parts dealer, this exhaust fits into the same location as the stock PC800 exhaust. The muffler is in the stock location (no second muffler on the opposite side).

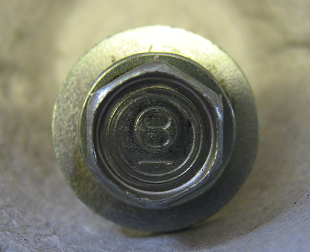
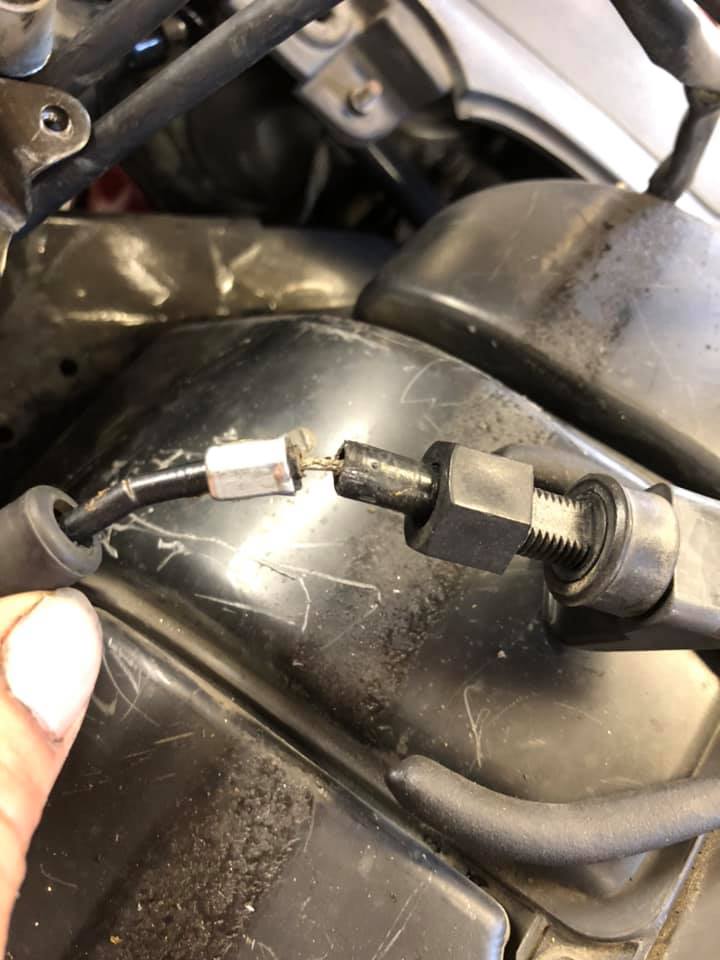
Here is the part number on the stainless steel exhaust. It seems to say:
LASER

BSAU 193 T2
e4 89/235-890
31.1073.9

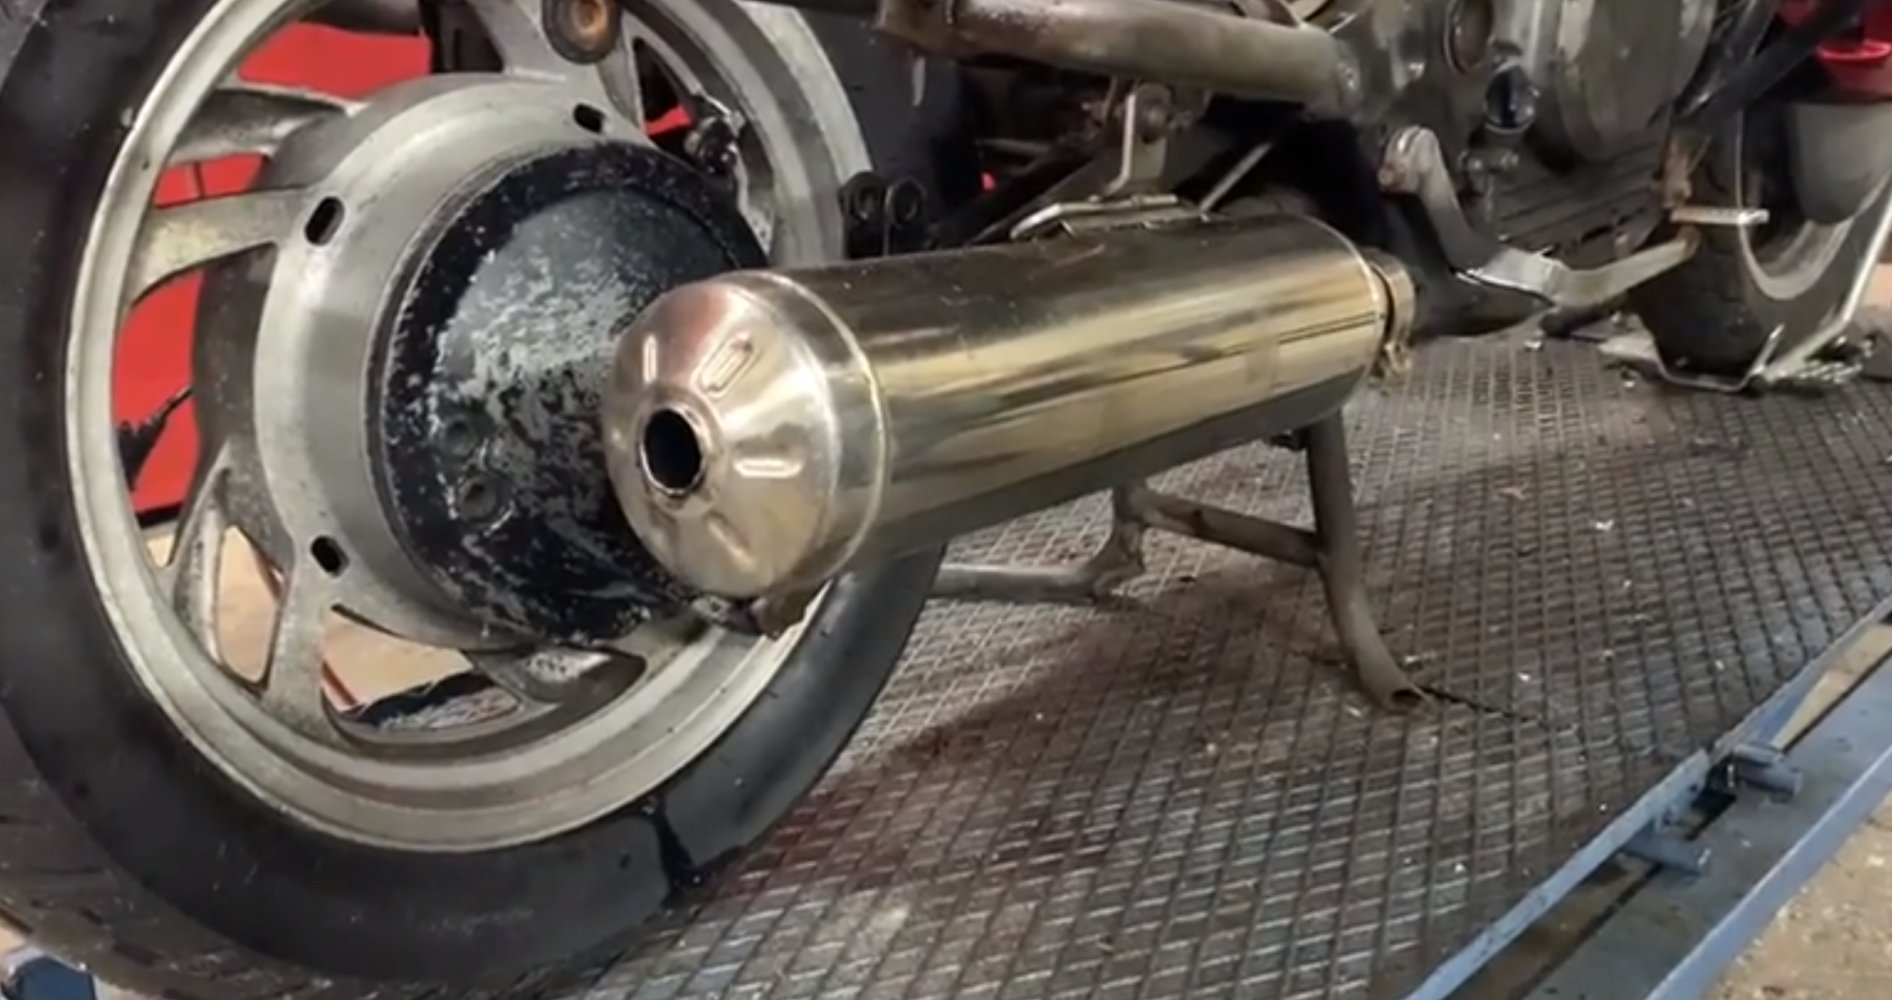
Here is a still from a short video of the exhaust system in place on the bike. You can see it bolts to the stock location. Video is below. You can hear a short clip of it revving.

The most interesting thing to me is this exhaust collector/resonator. It looks like a piece of art.

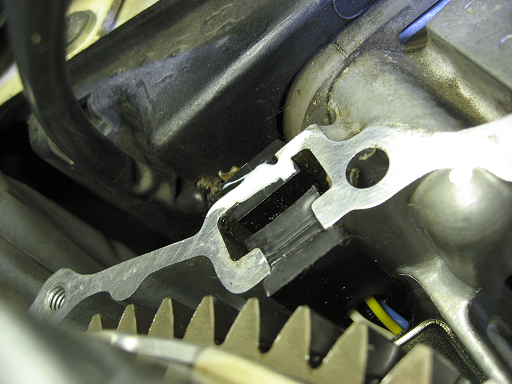
The muffler has the appropriate mounting tab to mount to the stock exhaust location on the PC.

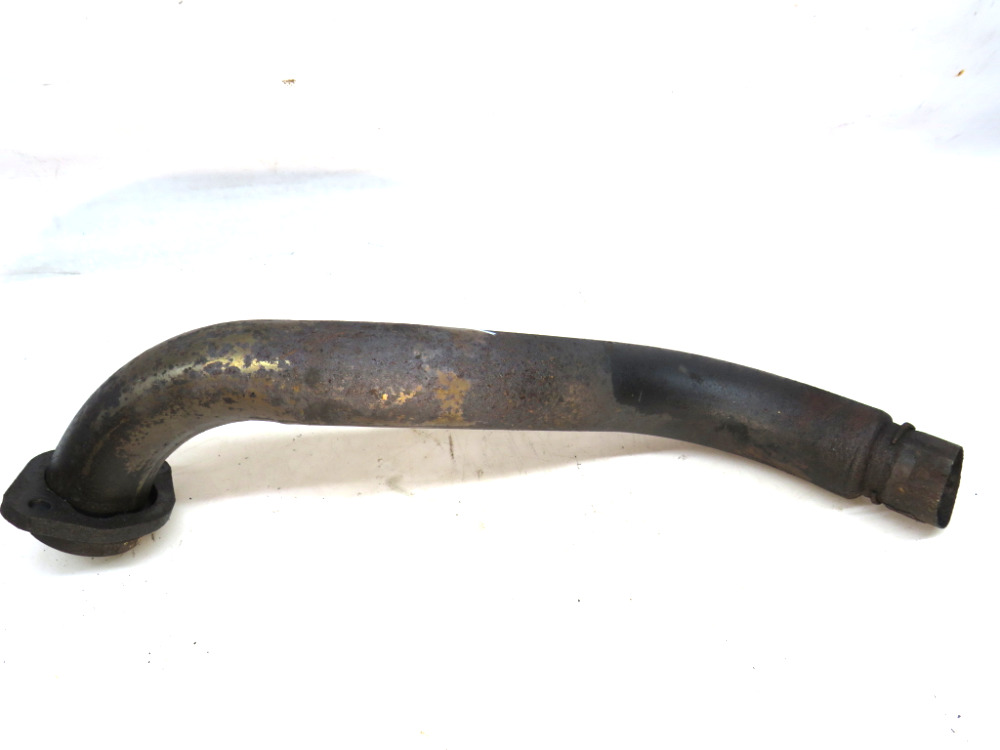
This is a collection of photos of the two exhaust headers that sold with the rest of the exhaust parts from the PC that the parts dealer parted out. I’m not sure if these are special or different from what comes stock on a PC or if they’re the factory exhaust headers. My guess is they’re probably stock and not special.

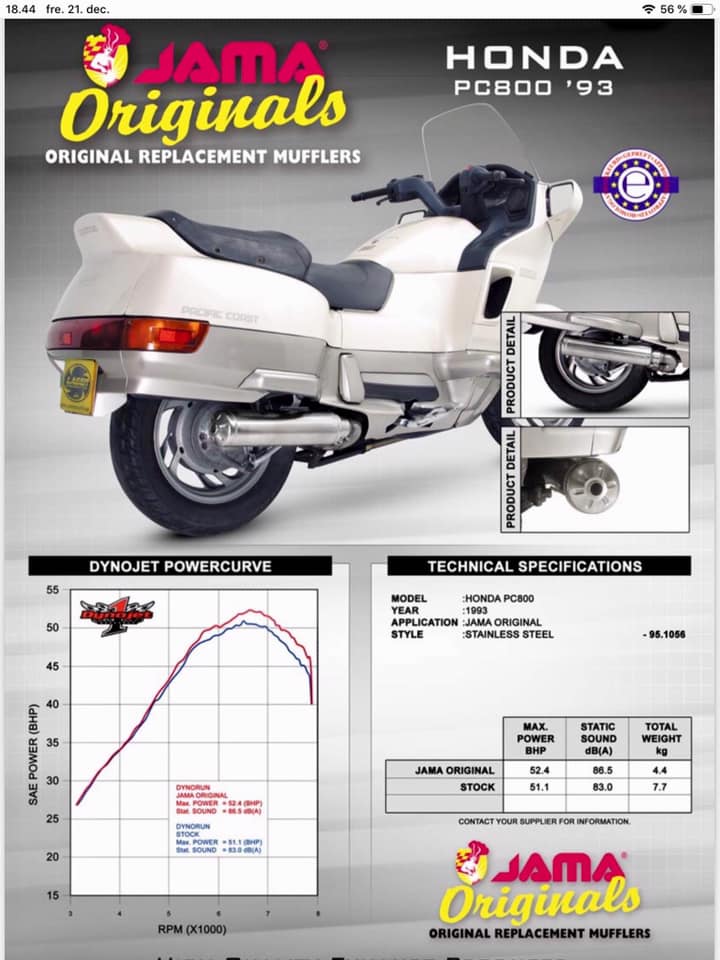
Here is the sales literature for the exhaust. It’s from Jama Originals. Over the stock bike, the exhaust does slightly improve performance on the dyno according to this graphic.

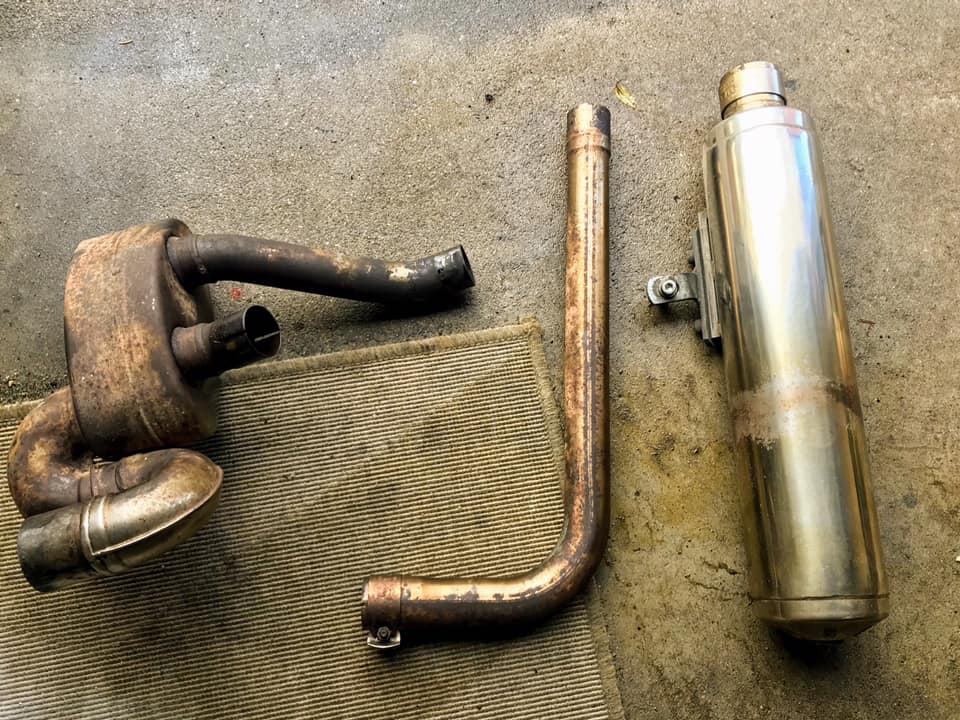
Here is a photo of most of the parts that came out of the collection of exhaust parts that the bike breaker sold to the PCer in The Netherlands.

The OEM part numbers involved are as follows. I am not sure of the part numbers from the aftermarket company other than what’s written above.

18231MR5000 – for muffler

18320MR5003 – exhaust pipe

18392MK4000 – exhaust pipe

18320MR5003 – exhaust pipe part 2

18300MR5870 – exhaust silencer

UPDATE!

A Laser exhaust recently (July 2021) was posted for sale on a Dutch website. I grabbed a few photos of it and have added them below.
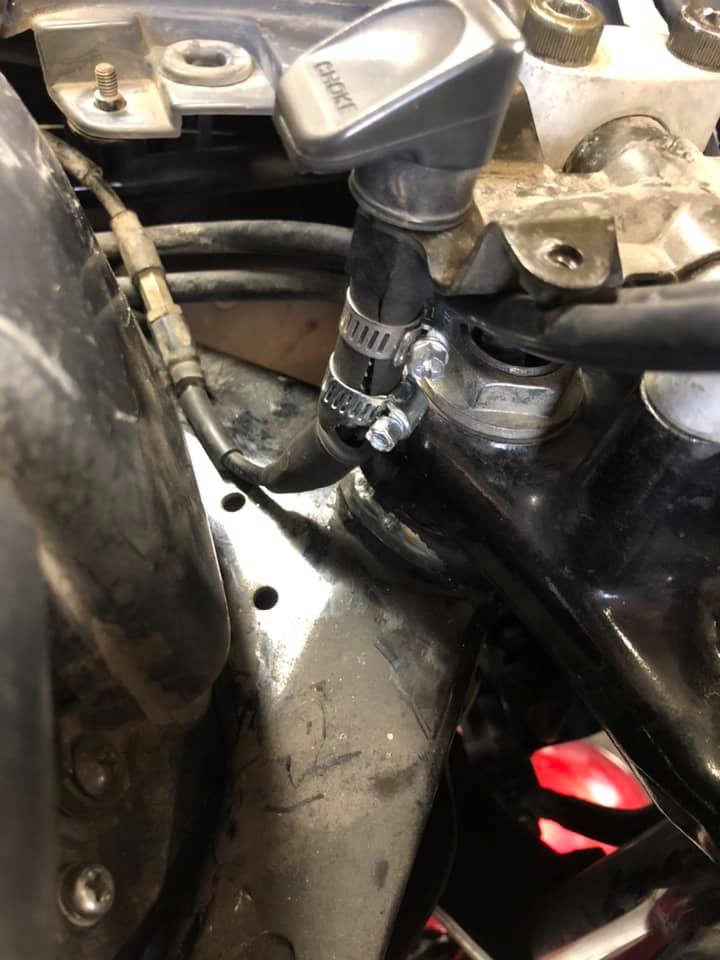
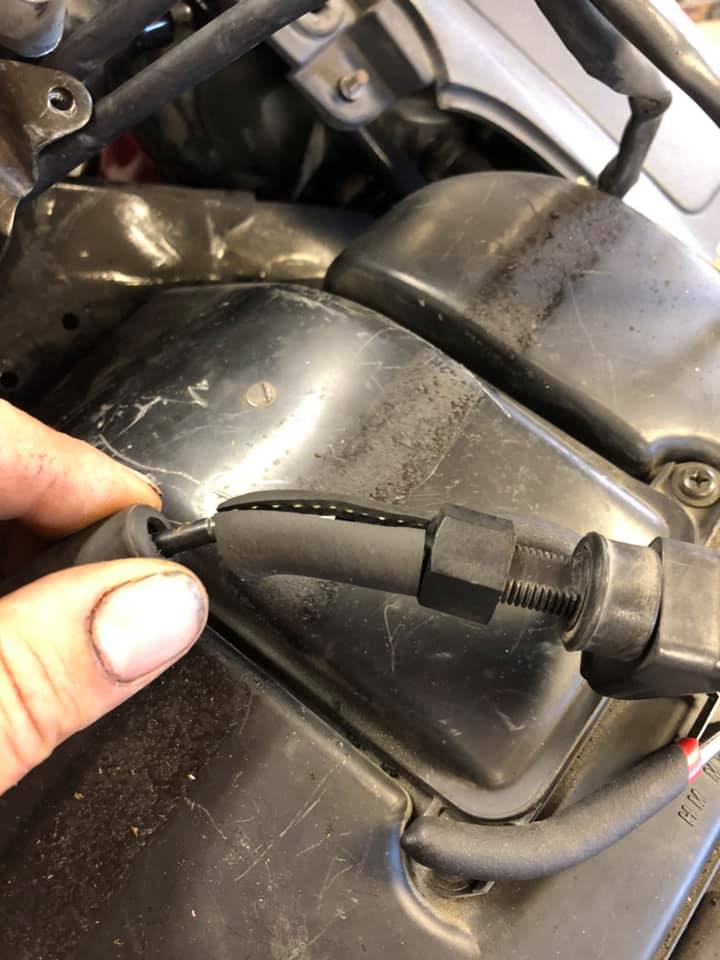
SECOND UPDATE!

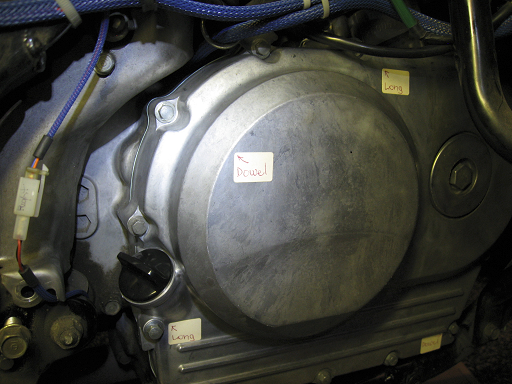
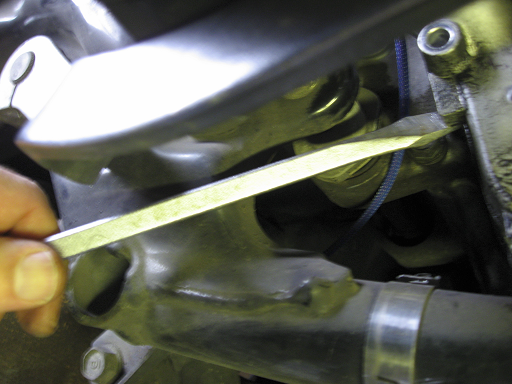
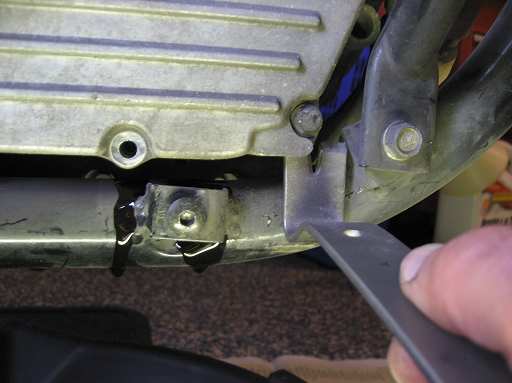
PCer Dolf V bought the Lazer exhaust and attempted fitting it to his bike. He found it more onerous to fit than he felt it should be so he found a stock PC800 exhaust and put it on his bike instead. Dolf V sent the below photos to me to include with the above information on this Lazer exhaust. Some of the photos are duplicates of photos above and some are new.

Removing and reinstalling the crankcase cover and torque specs for the clutch bolts on a Honda Pacific Coast PC800

For those replacing the clutch or the clutch springs on a Honda Pacific Coast PC800, this information may help with the procedure to remove and reinstall the left crankcase cover, and with the torque specs for the bolts that hold the clutch plates in place. This information comes courtesy of Seth on the iPCRC.


Tips: Do mark the cover to indicate where odd bolt lengths go and any extra dowels, brackets, clips, … :

There are a couple of flanges that make pulling the crankcase cover easier.
Front:

Rear:


The little bolts that hold the clutch plates and springs in place are Class 8 M6x1 20mm flanged hex head screws, rather stronger than the generic hardware. There ought to be an underlined “8” on the head:

(It’s underlined so that you don’t read it upside down and confuse it with an “8”. Braille on a drive-up ATM keypad?)

The Page 1-14 specification for “6mm flange bolt (10mm head) and nut” is “12 (1.2, 9)” (N·m (kg-m, ft-lb)). That matches the explicit specification for the clutch bolts on ‘oldWing, my 1984 GL1200A, which uses the same size bolts.

FWIW, when removing the bolts from Winglet’s 1997 clutch I tried to measure the torque required to break the bolts loose. The results, in in-lb, were: 114, 126, 120, 126 and 144+.


When re-installing the crankcase cover, apply sealant to the pulse generator wiring gasket before installing the crankcase cover gasket:

I’ve been using Permatex Optimum Black Gasket Maker instead of HondaBond lately with good results.

Fix for Honda Pacific Coast PC800 Choke Cable Failure

Here is a fix for the broken interface between the plastic threaded holder and the cable housing for your Honda Pacific Coast PC800 choke cable. You can use a bit of rubber fuel line or similar hose cut lengthwise and some hose clamps to repair the broken threaded holder well enough to keep riding for years to come.

Ben J. from the PC800 Facebook group came up with this great fix recently. The PC800 community has been working for a while to find a new supplier to produce these choke cables for our PC800s but the square pull end is hard to replicate. So until we figure out how to get new cables made, here is what Ben J. did to get his choke working again.

Ben J. says:

My solution to the common broken choke cable, Holds in place and remains flexible and easy to do just 1/4 in fuel line and two clamps!

Thanks Ben J.!

Here you can see the finished product. He found some tube that was the right size, cut it lengthwise, used a couple hose clamps, and is back in business!

Here’s a view of the hose going on.

Here’s a photo of the break on Ben J.’s bike. Some people have the threaded plastic part broken instead of the interface between the cable and the threaded plastic part. This method might work for that as well.

You can go to this link on Facebook to see a video of the finished product on Ben J.’s bike.

Other folks have had some luck using epoxy, plastic weld, or JB weld to bond the plastic threaded part together if that’s where your break is.

We’re hoping to find a replacement cable vendor who can recreate this cable assembly in the next few years. When that happens, I’ll update this post with a link to that.

For reference, the part numbers that cover this cable are:

  • 17950-MR5-010ZA
  • 17950-MR5-870
  • 17950-MR5-870A
  • 17950-MR5-870B

You can find the part on the PC800 parts microfiche for more details here.