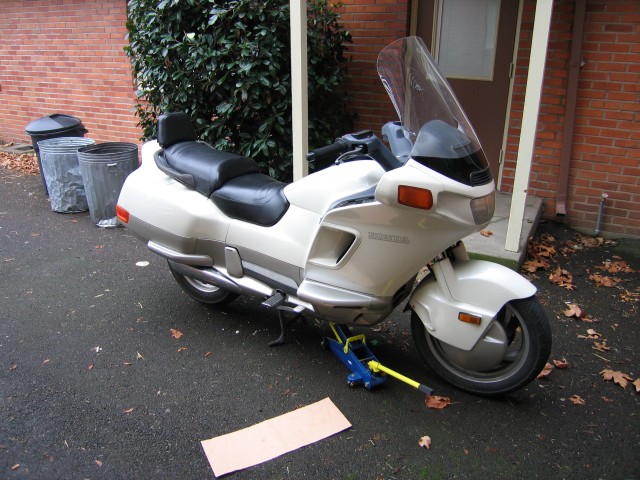
The front tire that was on the Pacific Coast when I bought it last night was just about bald. A quick search of the internet found a company with the tire in stock in Oregon. They shipped it to me and I had it the next day. After the term finished last week I decided it was high time to put on the new tire. Independent Motorcycles in Philomath, Oregon put the new tire on the wheel. I did the rest of the wrenching myself. The tire I put on is a Metzeler. The previous owner had Metzeler tires on the front and rear so I figured I might as well do the same. Here are a few photos of the process.
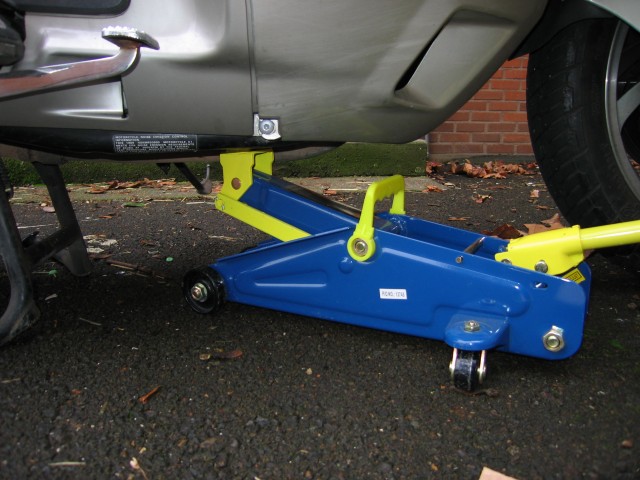
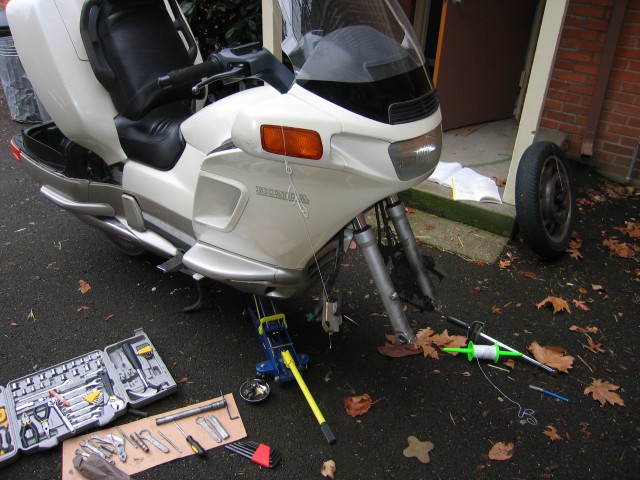
I used the little blue and yellow rolling jack that I salvaged last year off of an ME 383 class project that was being discarded. Worked like a champ although it sticks a bit when I let it down.
I supported the bike directly on the engine case as far forward and as in the center as possible without being on a thin or fragile-looking piece of metal.
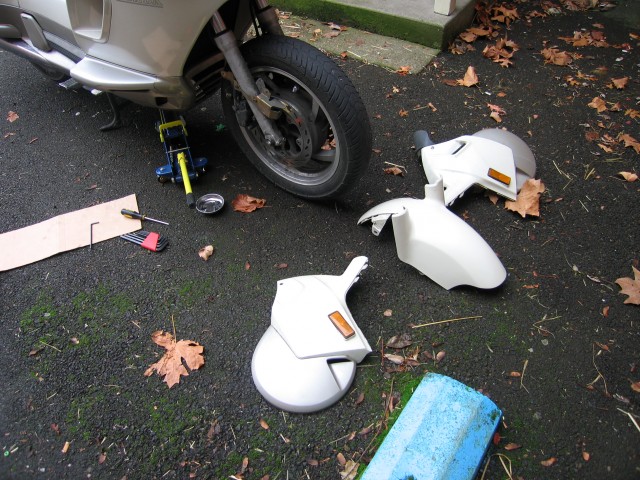
The plastics off the wheel. My bike has what appears to be a Hondaline fender extender. It took a bit of convincing to get the plastic off. I also found some cracks in one of the pieces. Once the kit comes to repair the plastic I’ll have to pull the wheel plastics off again and make repairs. Also a couple of screws were missing but nothing important since I’ve been riding it for 1000 miles without problem. Will get those replaced though just for the peace of mind.
Notice the sweet valve stem covers. That was a selling point on the bike.
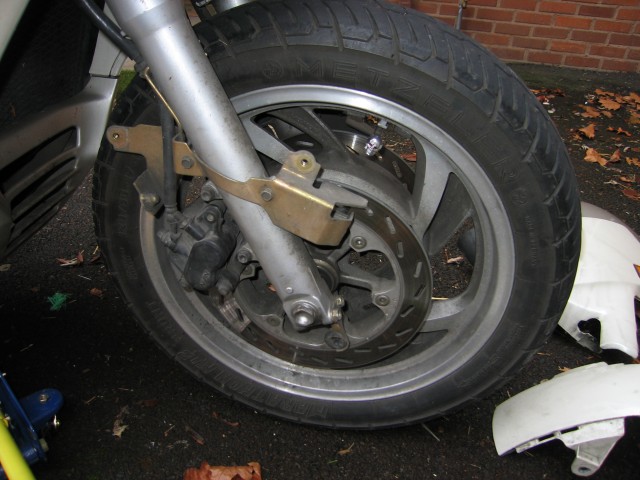
Front wheel off the bike. I used a bit of string to tie up and support the right side brake caliper. I also used the pieces of metal that happen to fit both my old VT700 Shadow and the PC800 brake calipers. Slide those in and even if someone squeezes the brake it won’t require slave cylinder rebuilds.
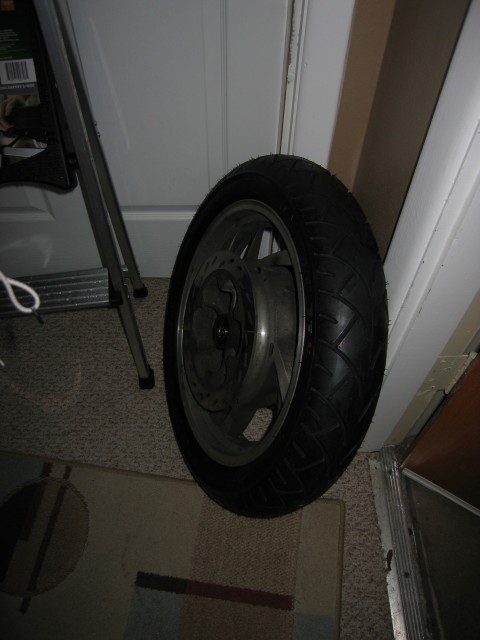
The new wheel sitting by the door waiting for daylight so it can be put back on the bike.

How do you take the plastics off the front wheel?
Hello Jami,
This page in the manual does a decent job of showing the procedure: https://www.douglasvanbossuyt.com/honda-pacific-coast-pc800-service-manual/pc800-service-manual-chapter-2-frame-body-panels-exhaust-system/page-2-14/
Cheers!
Douglas
Here some more tips for front wheel faring removal:
Once the hex bolts from the air vents have been removed, start removing the side faring from the fender from the front. Be careful that the two parts dont scratch each other in the process. As they come apart, stick a piece of cloth between them just in case.
Now separate by pushing the bottom back of the fender first. Once you have separated the tounge and groove at the bottom, you will want to lift in the upward direction the faring out of the fender – as you will see from the video, the inserts into the fender need to be separated in this manner.
Lastly, be careful not to put too much stress on the faring section that goes around the brake hoses while lifting. This part will want to slide out towards the back of the bike.
Reinstalling:
Be awake that when reinserting the faring, the faring section that goes around the brake lines need to go UNDER the silver fork bracket! See image.
The square-headed hex bolts go into the back air vents of the fairing. The round smooth hex bolts go into the front.
I worked the procedure in reverse and this went fairly well. Once the fairing is pretty much in place, make sure to push the fairing into the grommets as early in the process as makes sense.
For me, I found it easier to put the front hex bolts in first. When I did the rear ones first, I couldn’t get the rear bolts to seat properly.